Sunday, August 11, 2013

CADB Post: Embossing

Hi there, and thanks for stopping by. It's time again for another post for me at the Card A Day Blog. This week's theme is embossing, and here is the card I made following that theme.


I was making a tag album, and I was using Tim Holtz Distress Ink, various stamps from my collection, and embossing powder to make all my tags, and I thought, this would be great for a card, and since this week's theme was embossing, I decided I would use the same supplies for my card, that I used for my tag album.

To make my card, I started off with a 5.50" x 4.25" white card base. I then cut a piece of white card stock, cut to 5.25" x 4", and with the Tim Holtz Distress Ink pad, Festive Berries, I decided to stamp the words Happy Birthday on the bottom of the card stock piece, since I needed a birthday card to send to someone. With the same stamp pad, I stamped the bird images on the upper part of the the white card stock piece, sprinkled them with clear embossing powder, then heat set the images. Then using a makeup sponge, I inked over the images. To finish off my card, I added a piece of red checkered ribbon from Really Reasonable Ribbon, across the top piece just above the sentiment. 

Please let me know what you think about my card, I just love to hear your comments. Be sure to visit the Card A Day Blog every day for some wonderful card making ideas. If you like to enter challenges, you might want to check out our monthly challenge. One lucky winner will win a great prize each month.


Wednesday, August 7, 2013

CADB Post: Die Cuts

Hi everyone! It's the end of summer break, and I'm getting ready to go  back to work, and the kids are getting ready to go back to school. Wow, how the summer just seems to fly by way too quickly, even though we had over ten weeks off. Today we will be getting in one last outing, which will be a trip to the movies, before we go back in a couple of days.

Anyway, getting to the topic at hand, my card for this week's them at Card A Day Blog, die cuts. Here is the card I made.


I started off with a 5.5" x 4.25" white card base. I then added a dark blue piece of card stock cut to 5.25" x 4", rounded the corners, then embossed it with the Victoria Cuttlebug folder. For my next layer, on a piece of white card stock, cut slightly smaller then the blue piece, I cut a window in the middle using the next to the largest die from the Spellbinders Labels Eighteen die set, rounded the corners, then embossed it with the same Cuttlebug folder. On the inside of the window, I adhered white lace seam binding on the back side, then attached that piece to the top of the blue paper.

For the butterfly embellishment I used the smallest butterfly dies from the Spellbinders die set,  Les Papillions Two. I cut the bottom layer out of the same blue card stock that I used on my card, and white for the top layer. I added a rhinestone to the middle of the butterfly, then added it to my card.

I hope you enjoyed hearing about how I made my card, and try to make something like this for yourself. Please make sure to come back every day and see what our designers have made to spark your card making creativity. Don't forget to check out our monthly challenges for a chance to win a great prize!

Monday, July 29, 2013

CADB Post: Designer's Choice

Hi everyone, it's time again for me to post to the Card A Day Blog. This week we are able to create a card using a theme of our own choosing. I decided to post one of the cards that I made using stamps from a stamp set that I just recently purchased, from The Stamps Of Life, Pinwheels 2 Stamp. When I saw this stamp set, I decided I just had to have it...lol!


To make my card, I started with a 5.5" x 4.25" white card base. For my base layer, I cut a piece of purple chevron paper from the Recollections Chevron paper pack, cut to 5.25" x 4", then added it to the top of my card base. For the mat for my stamped image, I cut a piece of light green card stock, cut to 4.5 x 3.5, added a piece of white card stock cut to 4" x 3", inked the edges with green ink, adhered that piece to the top of the green one, then placed it on top of the chevron paper at an angle.

For my sentiment, I used the " Have A Spintastic Day!" stamp that was included in the Pinwheels 2 Stamp set, stamped on a piece of white card stock cut it to fit, then added that on top of a light purple mat cut just a bit larger then my sentiment. I added a piece of green polka dot ribbon to the left side, then attached that to the mat.

Now comes the fun part, the pinwheel. I had so much fun making these. I stamped the large pinwheel using black ink, then used the corresponding triangle stamps to stamp the patterns on the pinwheel using purple and orange ink. I then did the same with the smaller pinwheel. I cut my pinwheels out, layered the small one on top of the large one, then added a purple brad to the middle. I then added the pinwheel to the mat at an angle using dimensional tape.

I hope you enjoyed seeing how I made my pinwheel card. I think this had to be one of the most fun cards I have made so far. I could see using this stamp set for many different occasions just by changing the colors.

If you have the time, please leave me a comment and let me know what you think about my card, and be sure to check the Card A Day Blog each day for some great card inspiration, and if you like challenges, check out our monthly challenge for the chance to win a great prize!


Monday, July 22, 2013

Really Reasonable Ribbon Challenge #76 'Sizzlin' Summer Colors & Ribbon' Theme

Hello everyone. I have decided to enter this Really Reasonable Ribbon challenge, this will be my first time entering one of their challenges.


When I thought about the theme for this challenge, I thought about this digital stamp, Funny Sunflower, that I had purchased a while back from The Paper Shelter. I printed the image out using my printer on white card stock paper, colored it with Copic markers, then cut around it. I added Mod Podge Dimensional Magic to the middle of the sunflower, the ladybug, and the snail. I used a polka dot designed paper for my first layer and then added an embossed piece of light green paper that I embossed with the swirls Cuttlebug folder. For the mat for my flower, I cut out a piece of light orange card stock using a die from the Spellbinders Romantic Rectangles die set. For the ribbon, I cut pieces of yellow and orange ribbon from the Really Reasonable Ribbon, Diamond Satin Assortment Primary pack, cut a "V" shape at the end, then added Bright Apple Circus Dots ribbon, also from RRR, cut the same way, to the top, then added them to my card. On the inside, I stamped, " Thinking of You ", using a stamp I had in my stash.

I really love the way this card turned out, if I must say so myself. I will be sending this card to one of my sister's that I'm sure will enjoy receiving it. I also made a few more to add to the Operation Write Home box that I'm currently working on filling.

Thursday, July 18, 2013

Mojo Monday 302

Hello, I hope everyone is enjoying their summer so far. I'm really enjoying mine, relaxing, spending some time with my grandsons, getting caught up on cleaning and organizing, and of course, crafting. 


Here is the sketch for this week's Mojo Monday challenge.


Here is the card I made following the sketch.


I really liked this sketch, nice and simple. I used my Cuttlebug and a die from the Spellbinders Fleur De Lis set to frame out my stamped birds, and the ribbon was from Really Reasonable Ribbon. I just love the color of this ribbon, and I'm glad I bought lots of it...lol! I made a few of these cards so I can put them in the box that I plan to send to Operation Write Home

Friday, July 12, 2013

CADB Post: Monochromatic

It's time again for another entry in the Card A Day Blog. This week's theme is, " monochromatic". I chose to make my card using one of my favorite colors, blue.


I decided to make my card a non sentiment card so it can be used for any occasion.

To make my card, I started off with a 5.5" x 4.25" white card base, then added a 5.25" x 4" piece of dark blue card stock to the front of my card base.

I then embossed a piece of medium blue card stock paper cut to 5" x 3.75 using the Cuttlebug swirls folder. For the ribbon strips, I used ribbon blue striped organza ribbon from Really Reasonable Ribbon, cut it at alternating lengths, then adhered it to the medium blue card stock, then adhered that piece to my dark blue mat.

For the flowers, I layered alternating blue colored flowers out of the Recollections Signature Floral Embellishments, using clear craft glue to adhere them together, then added a blue rhinestone to the middle of each of them. I then added the flowers to the ends of each ribbon piece.

I hope you like my simple little card. As always, I love to hear what you think, so if you have the chance, please leave me a comment. Make sure to visit the Card A Day Blog each day for some wonderful card making inspiration, and be sure to check out our monthly challenge for a chance to win a great prize!   

Thursday, July 11, 2013

LSH Embellishment Swap

Another recent swap I was in was an embellishment swap, also at A Lil Scrap Of Heaven. My partner for this one was Vickie. Here are the pictures I took of all the wonderful things she sent me...:-)

First, the beautiful box she sent them in.


Here are all the neat things that she sent me, after I went through it all...lol! Her husband had made some dividers for it, but unfortunately, they did not fair well on their trip to California, and they were all broken...:-(


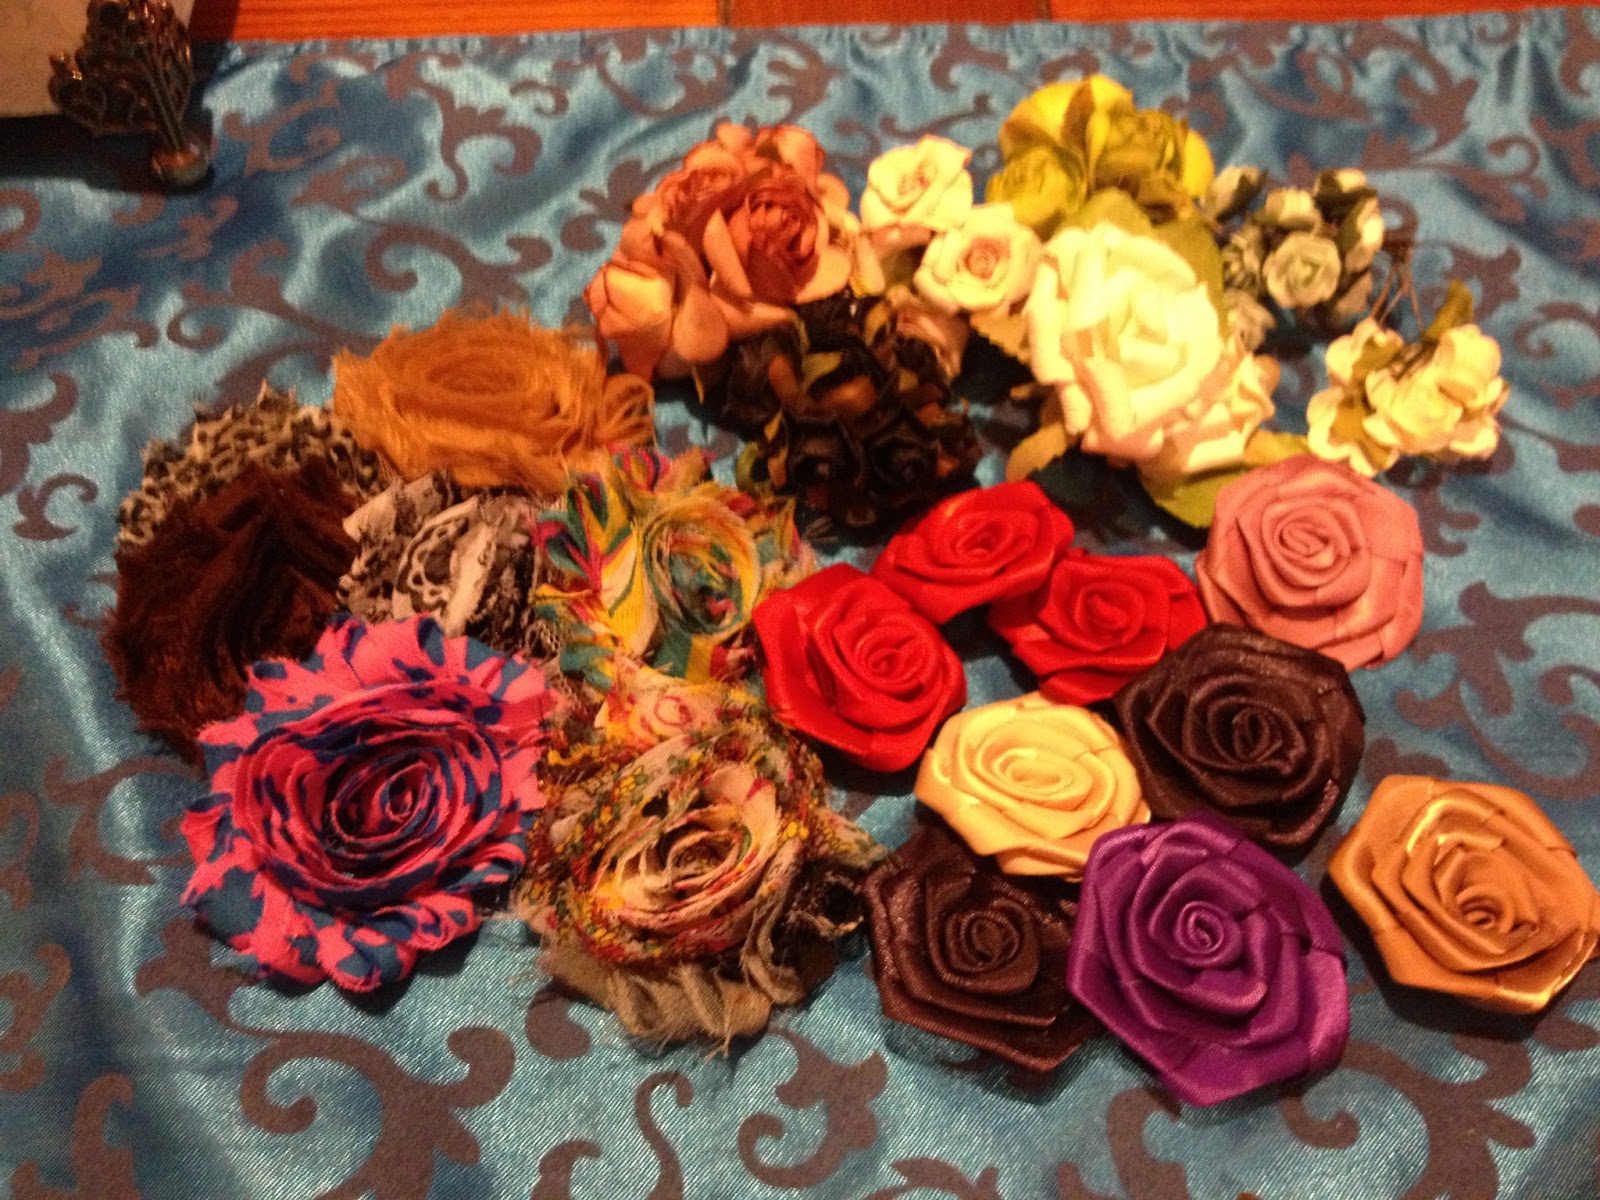
I got lots of beautiful flowers.


Lots of bling and trims.


And an assortment of a lot of other neat stuff!


It was so much fun looking through everything. Thanks Vickie for being such a wonderful swap partner.