Sunday, October 23, 2011

Ornament Christmas Card

It's my turn once again to post on the Card A Day Blog. The theme for this week is Christmas ornaments, and here is the card I created.


The materials I used for my card are:

  • Ornament, cut out from my Cricut and using the Sure Cuts A Lot program.
  • 8.5 x 5.5 inch piece of white card stock, folded in half for card base.
  • 5.24 x 4 inch background paper from the Cloud 9 Design Seasonal Paper Stack
  • Bow made out of yellow organdy ribbon, using a Bow Easy to create it.
  • Color Box Petal Point pigment ink, dark green petal pad.
  • Foam Squares
  • Viva Decor Pearl Pen, gold
  • Spellbinders Nestabilities Beaded Oval Dies
  • Cuttlebug


To create my card, I started by adding my background paper to my card base, then after inking my oval die cut, I attached it to my card base. I then glued together my ornament front to the back, and I applied it on top of the oval with foam squares. Then using my Viva Decor Pearl Pen, I applied dots around the oval, and in various places on the ornament. After making a bow with my Bow Easy, and ribbon, I applied it to the top of the ornament. I stamped the inside of the card with a greeting. 


Thanks for checking out my car, and please let me know what you think of my card, by leaving me a comment.

Tuesday, October 18, 2011

Latest Operation Write Home Christmas Cards

Time is quickly closing in on the deadline for sending Christmas cards for Operation Write Home. Here are the latest cards that I have created, and I will be sending them off next week. I hope to get a few more whipped up before then, and if I do, I will try to post them as well.

This first card I made using the Spellbinders Die, Holly Motifs, That I purchased at Stamping Scrapping, one of my favorite online stores, where I find myself getting into more trouble than I should..lol!


These next three cards, I made using one of the Spellbinder Dies, Lacey Circles, and stamps from the Just Rite stamp collection, Holiday Cheer Set, also purchased from Stamping Scrapping. I thought these were just the cutest little dies, I just had to have them.  


Next up are cards I made with stamps from another one of my favorite online stores, Outlines Rubber Stamps. I just love these stamps, and often find myself getting into a bit of trouble when I visit there too...lol! I guess I love trouble...lol!


After I am done with Christmas cards, I will be starting on Valentine's Day cards. I can already feel the love...lol!

Friday, September 9, 2011

Autumn Owl

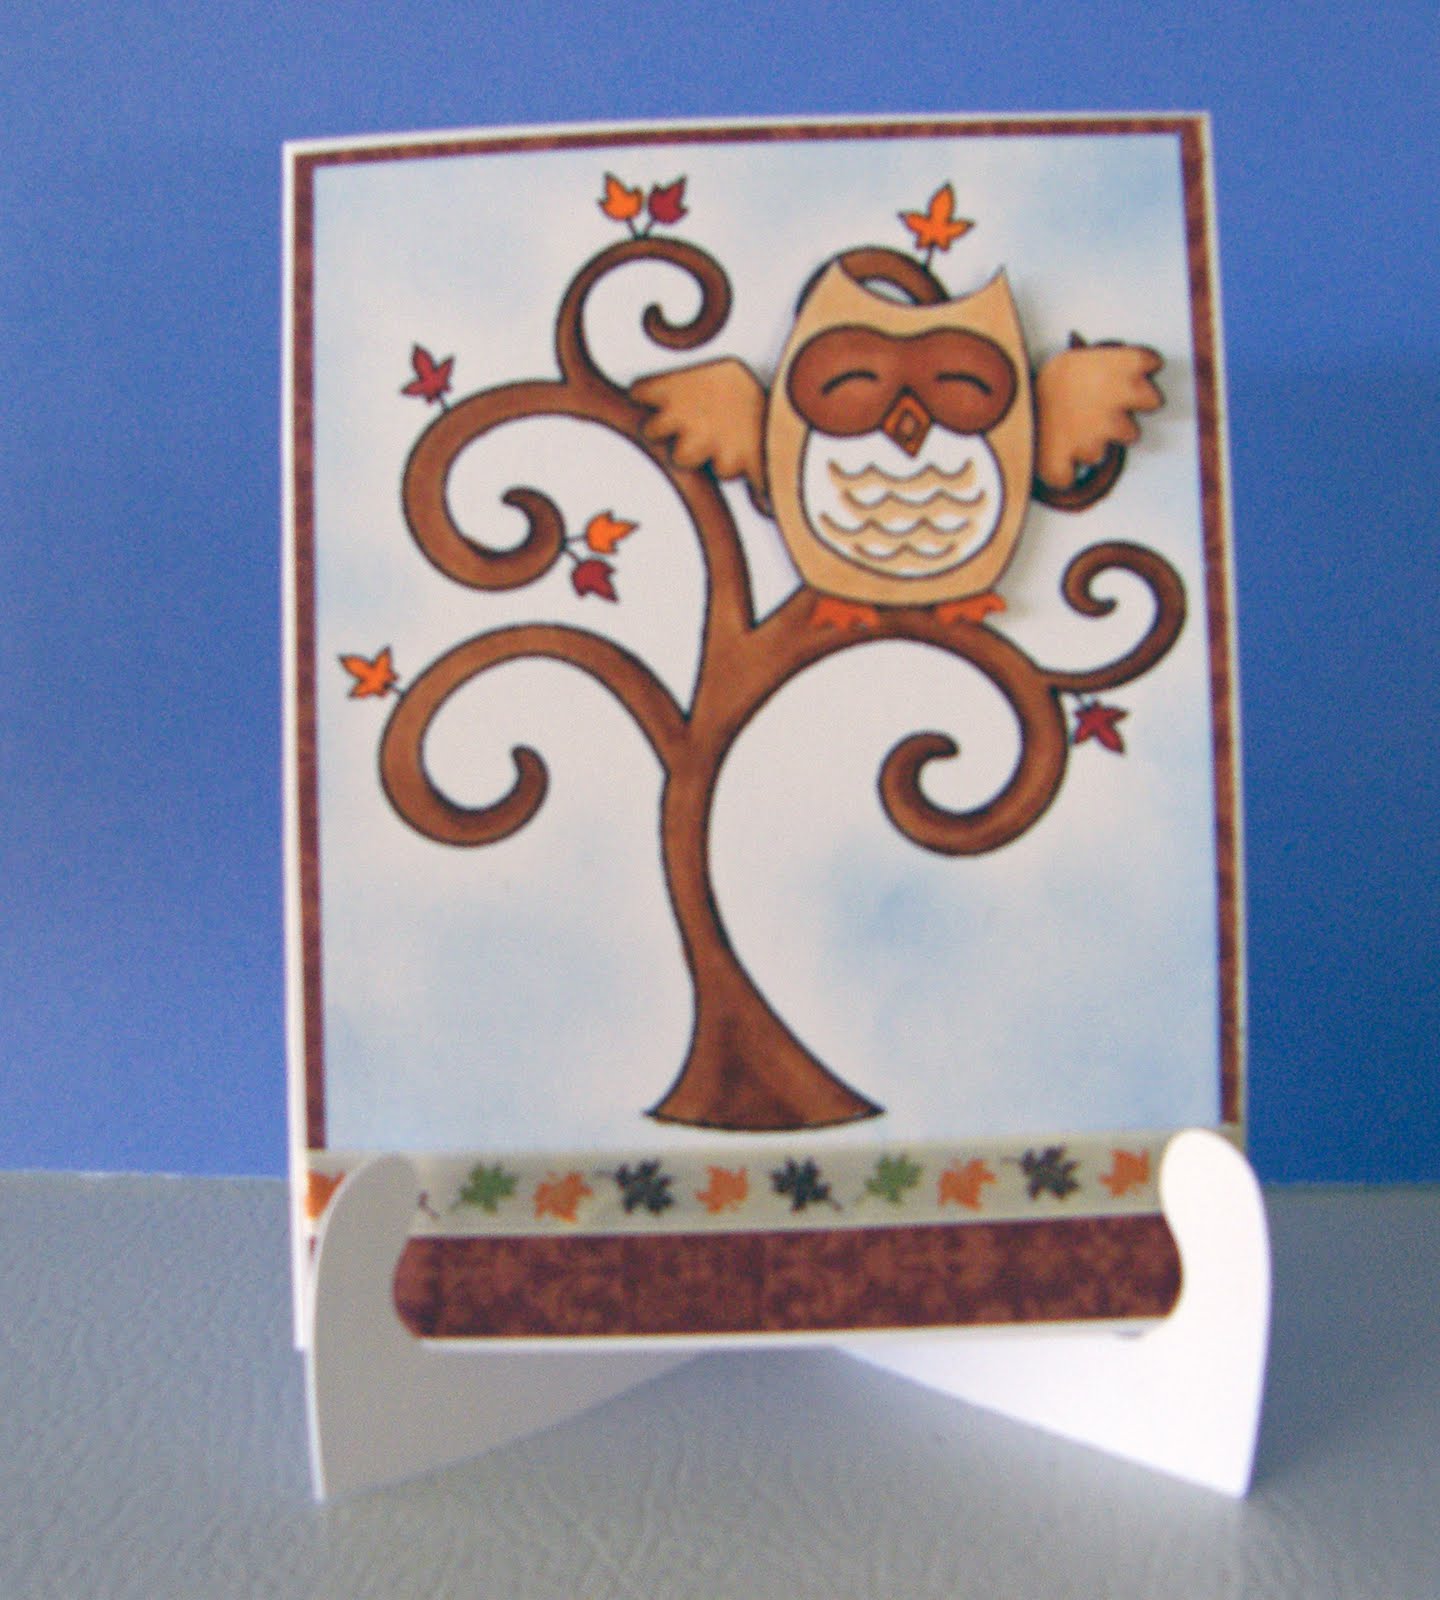
Hi everyone, I hope your having a wonderful weekend so far. I now have the pleasure of being one of the designers in the Card A Day Blog,  where I have the pleasure of designing cards and posting them for others to enjoy. Every day there will be a new card posted by one of the designers, and each week, there will be a new theme. This weeks theme is Owls, and since I love owls, I had to get in on this one. This is my first post for the group, and I'm very excited.

The card I decided to make is made from digital stamps from Tiffany Doodles Digital Stamps and What nots . When I saw this little owl, and some of the card samples that where made from these stamps, I thought they would be perfect for this project.


The materials I used for my card are:
Copic Ciao Markers # E37 and E35 for the tree trunk, and E53, E33 and E35 for the owl.
8.5 x 5.5 inch piece of white card stock, folded in half for card base.
5 4/8 x 4 1/8 inch background paper from the DCWV Amber Autumn Stack
5 inch piece of fall themed ribbon.
Color Box Petal Point pigment ink, dark blue petal pad.
Foam Squares
Digital images from Tiffany Doodles Digital Stamps and Whatnots


First, I printed my digital images on white card stock, the tree is approximately 4.5 x 4 inches, and the owl is 2.5 x 1.75 inches. I then colored the digital stamps.For the tree, I used Copic Ciao Markers # E37 and E35 for the trunk, and E08 and YR16 for the leaves. I used the dark blue ink on the Color Box pinwheel to ink around the tree using a small ink dauber.  For the owl, I used Copic Ciao Markers # E53, E33 and E35. I then cut out the owl, applied two foam squares to the back, and placed him in the tree. I then attached the tree and owl on my piece of background paper, placing it just below the top edge of my background paper. Then, I attached my piece of ribbon along the bottom of the tree. Last, I attached the card front I just created to the front of the card base.

I really hope you like this little card I made, as I really enjoyed making it. Please leave me a comment, and let me know what you think.

Saturday, August 20, 2011

I know I haven't posted in a while so I thought I would post some pictures of the latest batch of Operation Write Home cards that I shipped out a few weeks ago. If you don't know what Operation Write Home is, click on the link on the sidebar to the right and check it out.


The above card was made from a digistamp I purchased, but right now I can't remember where I got it from, so when I get that figured out, I'll post it, or if someone reading this knows where it came from, please let me know.


This card was made from a stamp set I have, again, I'm not sure who made it, because I have it out of it's original package, and in a binder where I've put some of my stamps in for easier access.


This little guy is from a stamp I purchased from http://www.liliofthevalley.co.uk/ . They have some of the cutest stamps there. Even though they are from the UK, they still offer free shipping to the US if you purchase a certain amount of stamps, or at least that's what they offered when I bought my stamps.


This cute little mushroom was out of the  Woodware Clear Stamps - Woodland Mushroom set, purchased from http://www.stampingscrapping.com which is a great place to purchase scrapping and card making products. I shop there quite often, maybe more than I should...lol! Go check it out, they have a lot of neat stuff there, and some great bargains!


Here's a Halloween card that I made, again, I don't remember where the stamp came from. I guess I need to start labeling them when I remove them from their packaging so I don't keep running across this problem.


The card with the owl, above, and the Happy Haunting card, below,  are from http://www.outlinesrubberstamp.com . This is another one of my favorite places on the web to shop. They have some of the coolest stamps there.


I hope you enjoyed checking out my latest cards, and please let me know what you think by leaving a comment. Thanks for looking...:-)


Thursday, July 21, 2011

Blog Candy!!!

Michelle, from Scrappin' For Kenzie is having a blog candy give away on her blog. She's cleaning out her scrap room, and she's passing on the chance for one lucky follower to win this huge haul of supplies. If you'd like the chance to win, click on the picture on the side bar to the right, and get all the details!

Sunday, April 10, 2011

Springtime Easel card

Just recently I participated in a blinky contest that was hosted by Stamping Scrapping, and I won! My prize was the Woodware stamp set, It's Springtime. I made this card with it. I won't say who or what it was for, because they haven't yet received it. I used Copic markers to color it in, but I didn't take note of which ones I used exactly, sorry. But anyway, here is the card. Let me know what you think.

Sunday, February 13, 2011

Birthday Cards

I have been seeing so many beautiful creations made by people using Copic markers for the longest time, and I've been wanting to get into it myself. I purchased a few a while back, but never did much with them, I guess because I didn't have much of a variety of colors, or the right colors for blending So, I decided to take the plunge, and after much research on prices, I purchased the large set of the B Ciao markers. I really love them!

Here are my first projects made with my new Copic markers. My grandsons will be going to a birthday party next weekend, and they will need cards to go with the gifts they are giving, so I decided to make the cards my first actual project. The images of Harold, the dragon, are digi stamps that I purchased from, Digistamp Boutique. Anyone who knows me well, knows that I love dragons, and I just couldn't pass this cute little guy up. The scallops I made with my Cricut, using my Sure Cuts A Lot program, and the patterned paper is from Hot Off The Press. Please let me know what you think of these little guys.